Webmail is a great feature that allows you to view and reply from your favorite internet browser.
One of the features available within Webmail is the auto-responder. The Auto Responder feature allows you to automatically send response messages in reply to incoming emails received on a specific email account.
To Add A Auto Responder
Log into your Webmail account. (Review How To Login to Webmail Article)
You will be presented with your Webmail Home Dashboard. If you are taken directly to your inbox after logging in instead, click the Webmail Home icon on the left to take you back to the Webmail Home Dashboard.
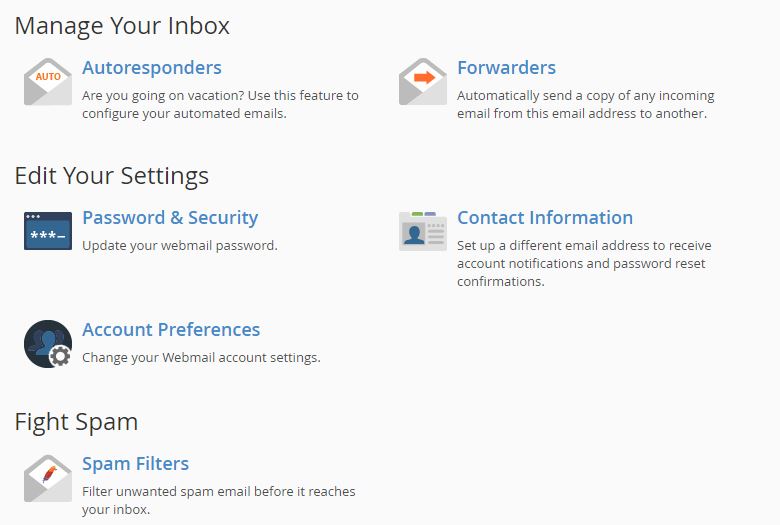
You can make changes to many items relating to this Webmail account, such as changing the password, modifying forwarders, or Autoresponders specific to this email account.
Click on Autoresponders under Manage Your Inbox to manage the Autoresponders.
Add an autoresponder in Webmail
Follow the directions in the add an autoresponder section to add the autoresponder.
Edit an autoresponder in Webmail
-
Locate the autoresponder that you want to edit in the Current Autoresponders table and click Edit. A new interface will appear.
-
Edit the autoresponder’s information.
-
Click Modify.
Remove an autoresponder in Webmail
To delete an autoresponder, perform the following steps:
-
Locate the autoresponder that you want to delete in the Current Autoresponders table and click Delete. A confirmation message will appear.
-
Click Delete Autoresponder.
